Mastering Exposure: Fix Underexposed and Overexposed Photos in Lightroom Classic

Saving Exposures in Lightroom: What You Can (and Can't) Fix
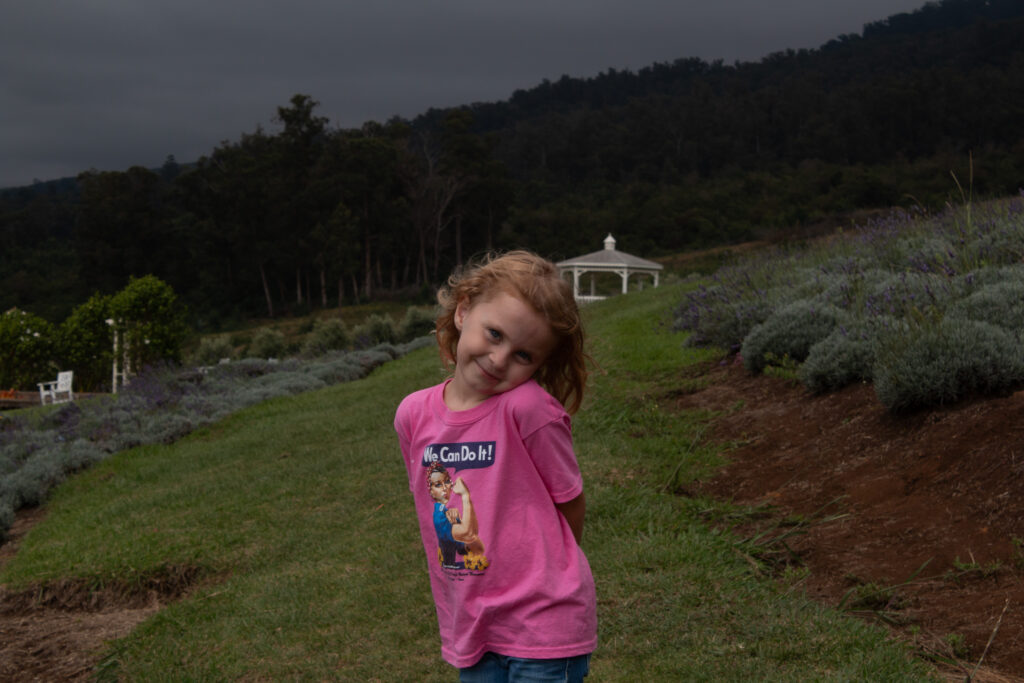
You’ve got a photo that’s too dark!
Maybe you were shooting in tricky light, or your camera metered for the wrong part of the scene, or you just made a mistake. It happens. The good news is that Lightroom can save a lot of underexposed images—way more than you might think.
The bad news? Overexposed images are a different story.
Lifting Shadows: The Good News
When your image is too dark, you can pull up those shadows in Lightroom and recover a surprising amount of detail. The Shadows slider is your friend here. You can also use the Exposure slider, but I find that Shadows gives you more control over the darker areas without blowing out the rest of the image.
Modern cameras capture way more information in the shadows than you’d expect. Even if your LCD screen makes the image look hopeless, there’s often detail hiding in those dark areas that Lightroom can bring back.
The Noise Problem
But—and this is important—lifting shadows introduces noise.
When you brighten those dark areas, you’re also amplifying the digital noise that was already there. The higher your ISO was when you shot, the more noise you’ll see. It shows up as graininess, color speckles, and a loss of sharpness.
This is just how digital sensors work. The data in the shadows is noisier to begin with, and when you make it visible, that noise comes along for the ride.
Fixing the Noise
The good news is you can do something about it.
Lightroom’s noise reduction tools are in the Detail panel. You’ve got two sliders to work with:
– Luminance reduces the grainy texture
– Color reduces the colored speckles
Start with Color noise reduction—usually somewhere between 25 and 50 works well. Then adjust Luminance carefully. Too much and your image will look plasticky and lose detail. I usually keep it under 40 unless the noise is really bad.
If you’re working with a particularly noisy image, Topaz Photo AI or other dedicated noise reduction software can help. I use it when Lightroom’s tools aren’t quite enough or I want to batch process images.
The point is: noise from lifting shadows is fixable. It takes a little work, but you can get a usable image.
Blown Highlights: The Bad News
Now let’s talk about overexposed images.
When your highlights are blown—when they’ve gone completely white—there’s no data there. None. Your sensor maxed out, and Lightroom can’t invent information that was never captured.
You can pull down the Highlights slider all you want, and sometimes you’ll recover a little bit if the area was just barely overexposed. But if it’s truly blown? You’re looking at a flat white area that will stay flat and white no matter what you do.
This is why photographers say “expose to the right”—meaning expose as bright as you can without blowing the highlights. You can always bring down brightness in post, but you can’t bring back detail that was never recorded.
What This Means for Your Shooting
When you’re out shooting and you’re not sure about your exposure, err on the side of underexposing slightly. Check your histogram. If you see a spike on the right edge, you’ve got blown highlights. If you see a spike on the left edge, you’ve got blocked shadows—but those you can fix.
I’d rather have a slightly dark image with some noise that I can clean up than a bright image with blown highlights that I can’t recover at all.
The Bottom Line
Lightroom is powerful, but it’s not magic.
You can save underexposed images. You’ll deal with some noise, but you have tools to manage that. Overexposed images with blown highlights? Not so much.
Understanding this changes how you shoot. It takes the pressure off getting the exposure absolutely perfect in camera—because you know you have some wiggle room in the shadows. But it also reminds you to watch those highlights, because once they’re gone, they’re gone.
If you want to learn more about working with exposure and editing in Lightroom, I teach classes at the ArtsCenter that cover exactly this kind of thing. We go hands-on with real images and real problems, and you’ll leave knowing how to rescue your photos instead of deleting them.
Because that’s the whole point, right? Taking the photos you want to take, and knowing you can fix the ones that didn’t quite work out.