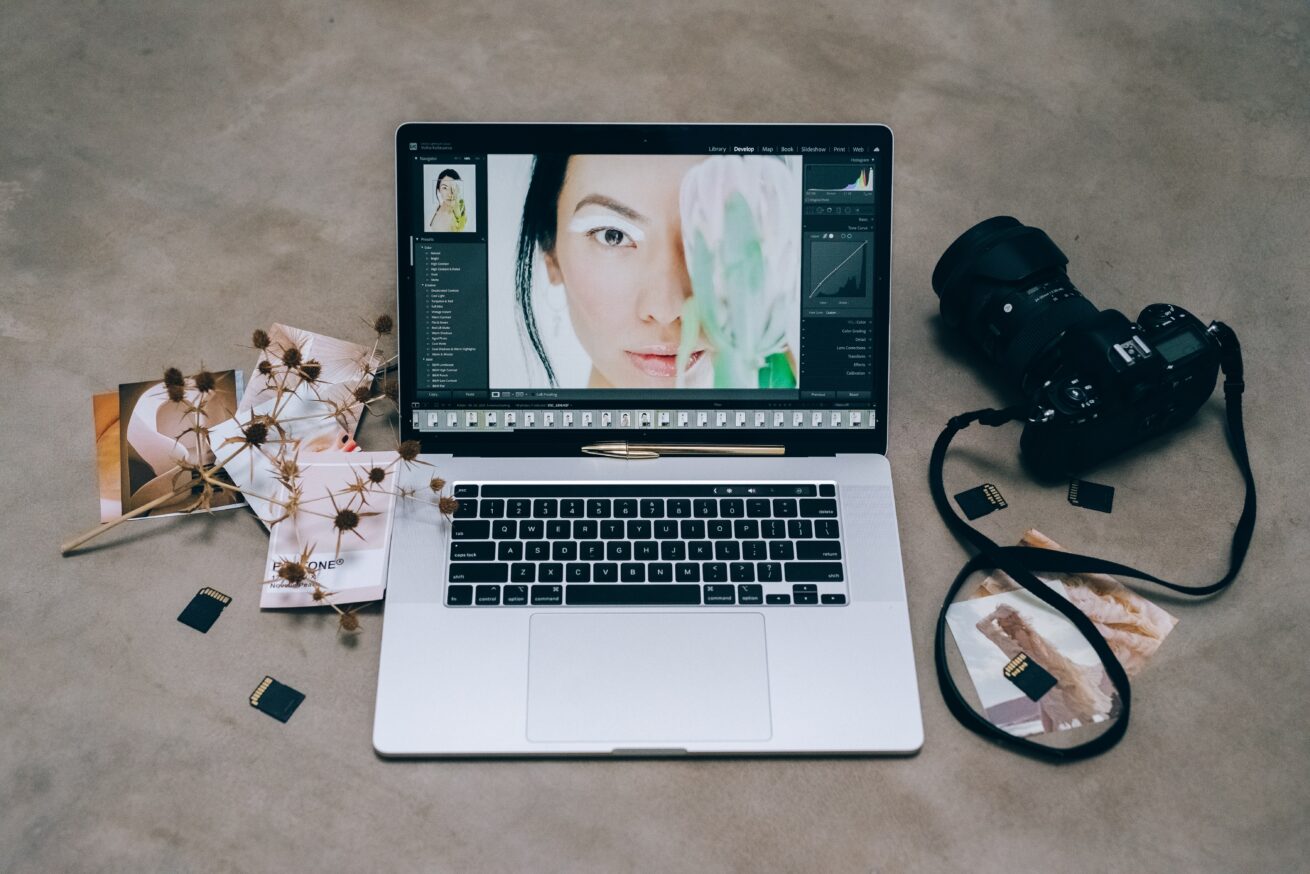
When I was starting out in photography, the ‘how’ of everything was sort of overwhelming. I had large files that only certain software could read, software that couldn’t talk to other software, and no system of organization. After a decade of trial and error, this is what I’ve developed.
Files
I shoot RAW and jpeg (RAW files go to my CF card and large jpegs to my SD card) but I usually only download images from my CF card. I used to download both for ease of … I don’t even know, but the jpegs aren’t necessary since I won’t edit them and they are just primarily back up for my RAW files. I usually use Lightroom to import my images, and when I don’t, I use Photo Mechanic and then Lightroom.
In Lightroom, I import files using a preset I developed that enables lens correction and removal of chromatic aberration. This corrects files that come in to match my camera and lens profile, and makes everything look better right from the start. If an image looks wonky and just out of place, I double-check to make sure I’ve enabled these changes.
I make sure I check the ‘don’t import suspected duplicates’ toggle, and then I either create a new collection or add my images to an existing one. Collections are really key for me and help me get/stay organized. I add keywords So I can find images again if they somehow escape their collection, or if they don’t end up in a collection to start with. Keywords are great – they are searchable, easy to apply, and easy to move around. You can export images with keywords, too, which helps with website SEO.
Sync
I subscribe to the Adobe Photographer’s package, which includes Lightroom Classic, Photoshop and Adobe Bridge. It’s about $10 USD a month, and it’s really the key to my workflow. Lightroom seamlessly talks to Photoshop, Photoshop talks to Lightroom, and it’s easy to move between the two. But the best part of it all is the ability to sync Lightroom collections to my phone, iPad or the web. This means I can cull, edit, keyword and export images on the go – in the car line, waiting at piano lessons, or just to share with friends and family more easily, and everything is synced back to my computer with Lightroom Classic. (And if you tether capture your photos into Lightroom and sync the collection, they show up in near real time to whatever device, making it really easy to share and see images as they are being shot).
Once in Lightroom, I set up my gallery view to hide rejects by clicking on the “Flagged” and “Unflagged” flags, then cull and X out any unsalvagable images (too dark, too blurry, way out of frame, etc). This is easy to do with ‘auto advance’ checked, found under ‘Photos’. Now my gallery only shows my images that are flagged or unflagged, and I can flag my absolute keepers, the ones I’ve spent some time on or want to spend some time on.
Syncing happens by Collection, so to sync individual images, I set up a ‘To Sync’ collection and drag individual images there whenever I have one. They might be completed edits, or something I want to work on, or just something I want to share.
And finally, the last key component I have is a ‘Delete these’ folder on my desktop. This is where I export jpegs that I need to upload to a website, submit somewhere, or export for photo ordering via ROES. Lightroom remembers the image pathways and stores the changes you make in a side car file, but those changes aren’t applied to an image unless you export it. Thus, I export it to my ‘Delete these’ file, do my uploads, then delete the folder. The images are still in Lightroom with all their changes, and I don’t need to keep what is essentially a duplicate file, taking up storage space.
Watch this site – I’ll add some keyword files, presets and diagrams to help make this all clearer.


